Fall seems to bring about a little more of the “chef” in me. Mind you, I cook all year round, but I’ve been seeming to cook more lately, especially with pumpkin. They’re so readily available this time of year that I couldn’t let those little pie pumpkins at the store go to waste.
You can make a number of dishes with pumpkin. Pumpkin risotto, pumpkin pie, pumpkin shakes, pumpkin cheesecake, pumpkin pancakes, pumpkin puree, pumpkin oatmeal, pumpkin, pumpkin PUMPKIN!
Today I’ll be showing you the route I go with pumpkin most often, which is roasting and pureeing it.
I love this method because it makes a lot of puree, and with leftovers you can just bag portions up, put it in the freezer, and take it out year-round to use when pumpkins aren’t so readily available.
(Full instructions at the bottom. See *Notes below recipe)
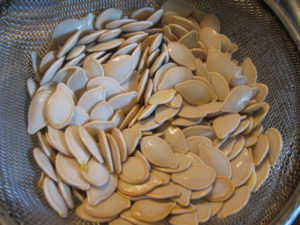 |
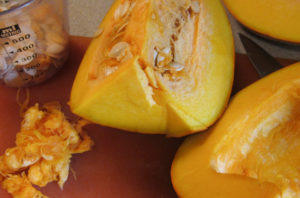
| SAVE YOUR SEEDS! |
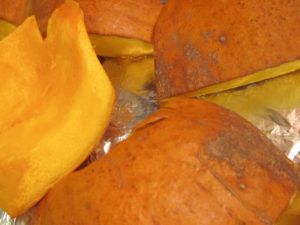 |
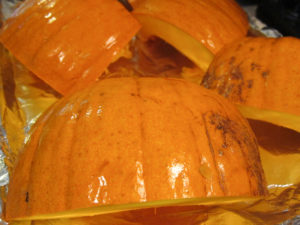
| Roasted. Notice the glossy look of the skin is gone, and it is darkened in color. |
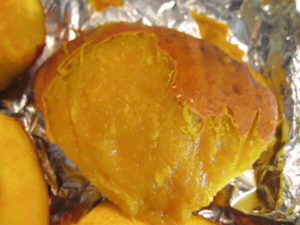 |
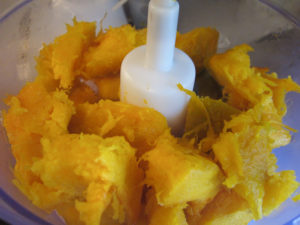
| You can peel the skin right off. |
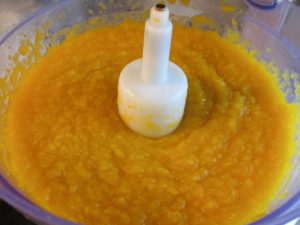 |
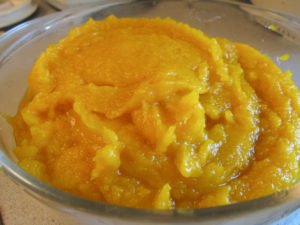
| Smoooooth |
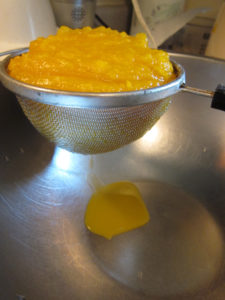 |
| If it’s too watery, put it in a strainer. See *Notes. |
WHAT YOU’LL NEED:
-Pie or Sugar pumpkin (These are labeled at the grocery store, and are specifically for use in cooking. You can get one of the big ones, but I find them to have less flavor, be much more watery, and have a stringy, weird texture)
-Baking sheet
-Aluminum foil
-Spoon for hollowing out the seeds
-Food processor or blender – I find a food processor is much easier
-Bowl
INSTRUCTIONS:
1. Preheat oven. 350°F
2. Cut! Use a sharp knife, and be very cafeful not to cut yourself! These are hard to cut.
– Cut pumpkin top off, then cut it in half. Cut those pieces in half so there are 4 pieces.
– You can stop there, but I find it easiest to get the seeds out by cutting those quarters in half again, so I have 8 pieces.
3. Seed! With a spoon, scrape the inside of your orange friend until there are minimal stringy bits and all the seeds are out. Save your seeds! You can roast them later.
4. Place pumpkin on cookie sheet. Some people suggest putting the pieces skin side down. I put mine skin side up, but either way is fine. I like to think they get “steamed” a little better skin side up.
5. Bake! for 30-45 minutes.* To test doneness, stick a fork in the flesh, If it goes in pretty easily it’s done.
6. Take it out. Cool your pumpkin pieces enough to handle and start peeling off the skin from the outside. It should come off really easily. Don’t be afraid of it; get your hands in there!
7. Puree. Put the pumpkin flesh into your food processor, turn it on high and process that thing like no tomorrow. You want a really smooth texture, especially if you’re going to be using this for baking pies and such. Don’t forget to scrape down the sides as you go.
8. ♥. Bask in all the glory of what you have just made. 100 times better than canned pumpkin. Now get to your next pie, or whatever you’re going to make, or just eat it with a spoon. Next time you feed your guests that pumpkin pie, pat yourself on the back for having not used a can opener.
*NOTES
I have found that if you roast the pumpkin for a little too long, it starts to get a little watery when you puree it. It does get a little sweeter, though.
If your puree looks a bit watery, place it in a mesh strainer over a bowl, leave it for 30 minutes, stirring a couple times here and there. It should do the trick.

