
This is the BEST coffee cake. Why? Well, because it’s the coffee cake that I grew up with, and I am bias about it. Tee-hee.
I grew up in Los Angeles, going to public school in the LAUSD (Los Angeles Unified School District). You wouldn’t think public school food is very good because well, it’s public school. It’s kind of true. There aren’t really many fond memories of lunchtime for me, except for the coffee cake. (And the tiny little personal pizzas in the tiny little pizza boxes when I was in high school. I can’t remember if it was Domino’s or Pizza Hut, but I was always excited that I could get a tasty name-brand pizza at lunch.) But I digress.
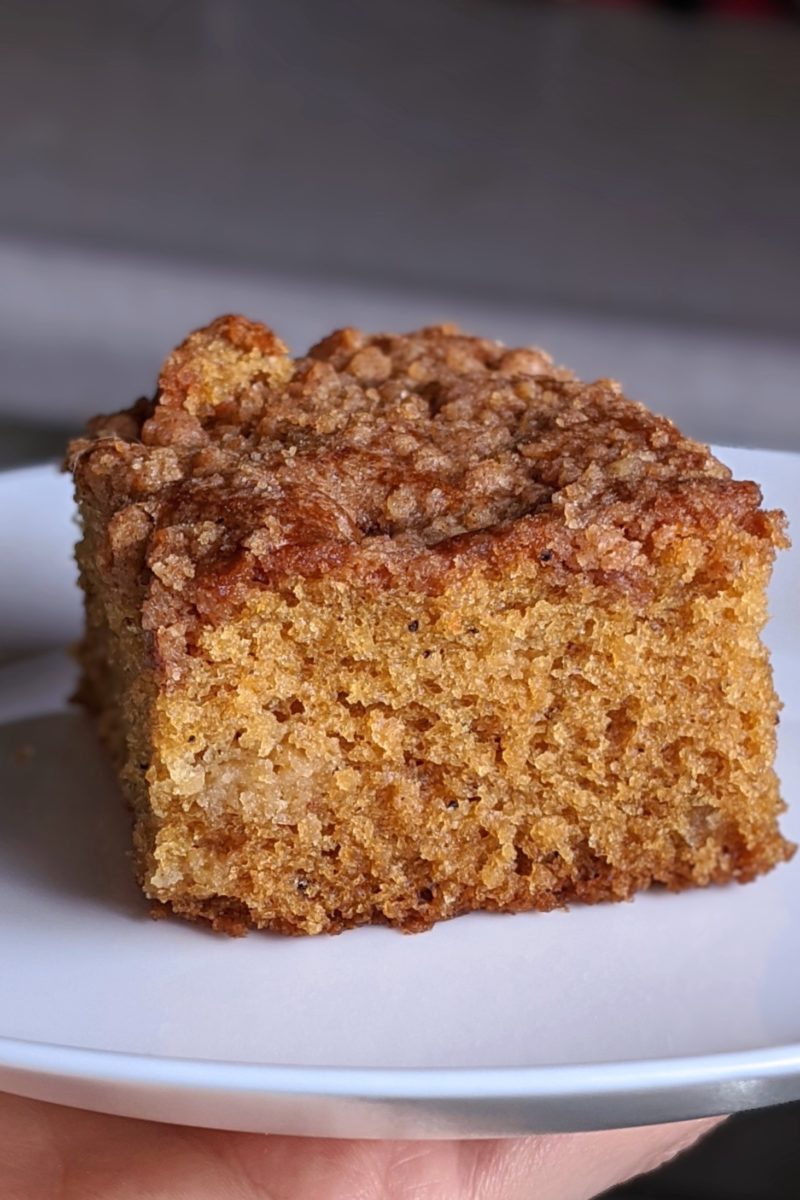
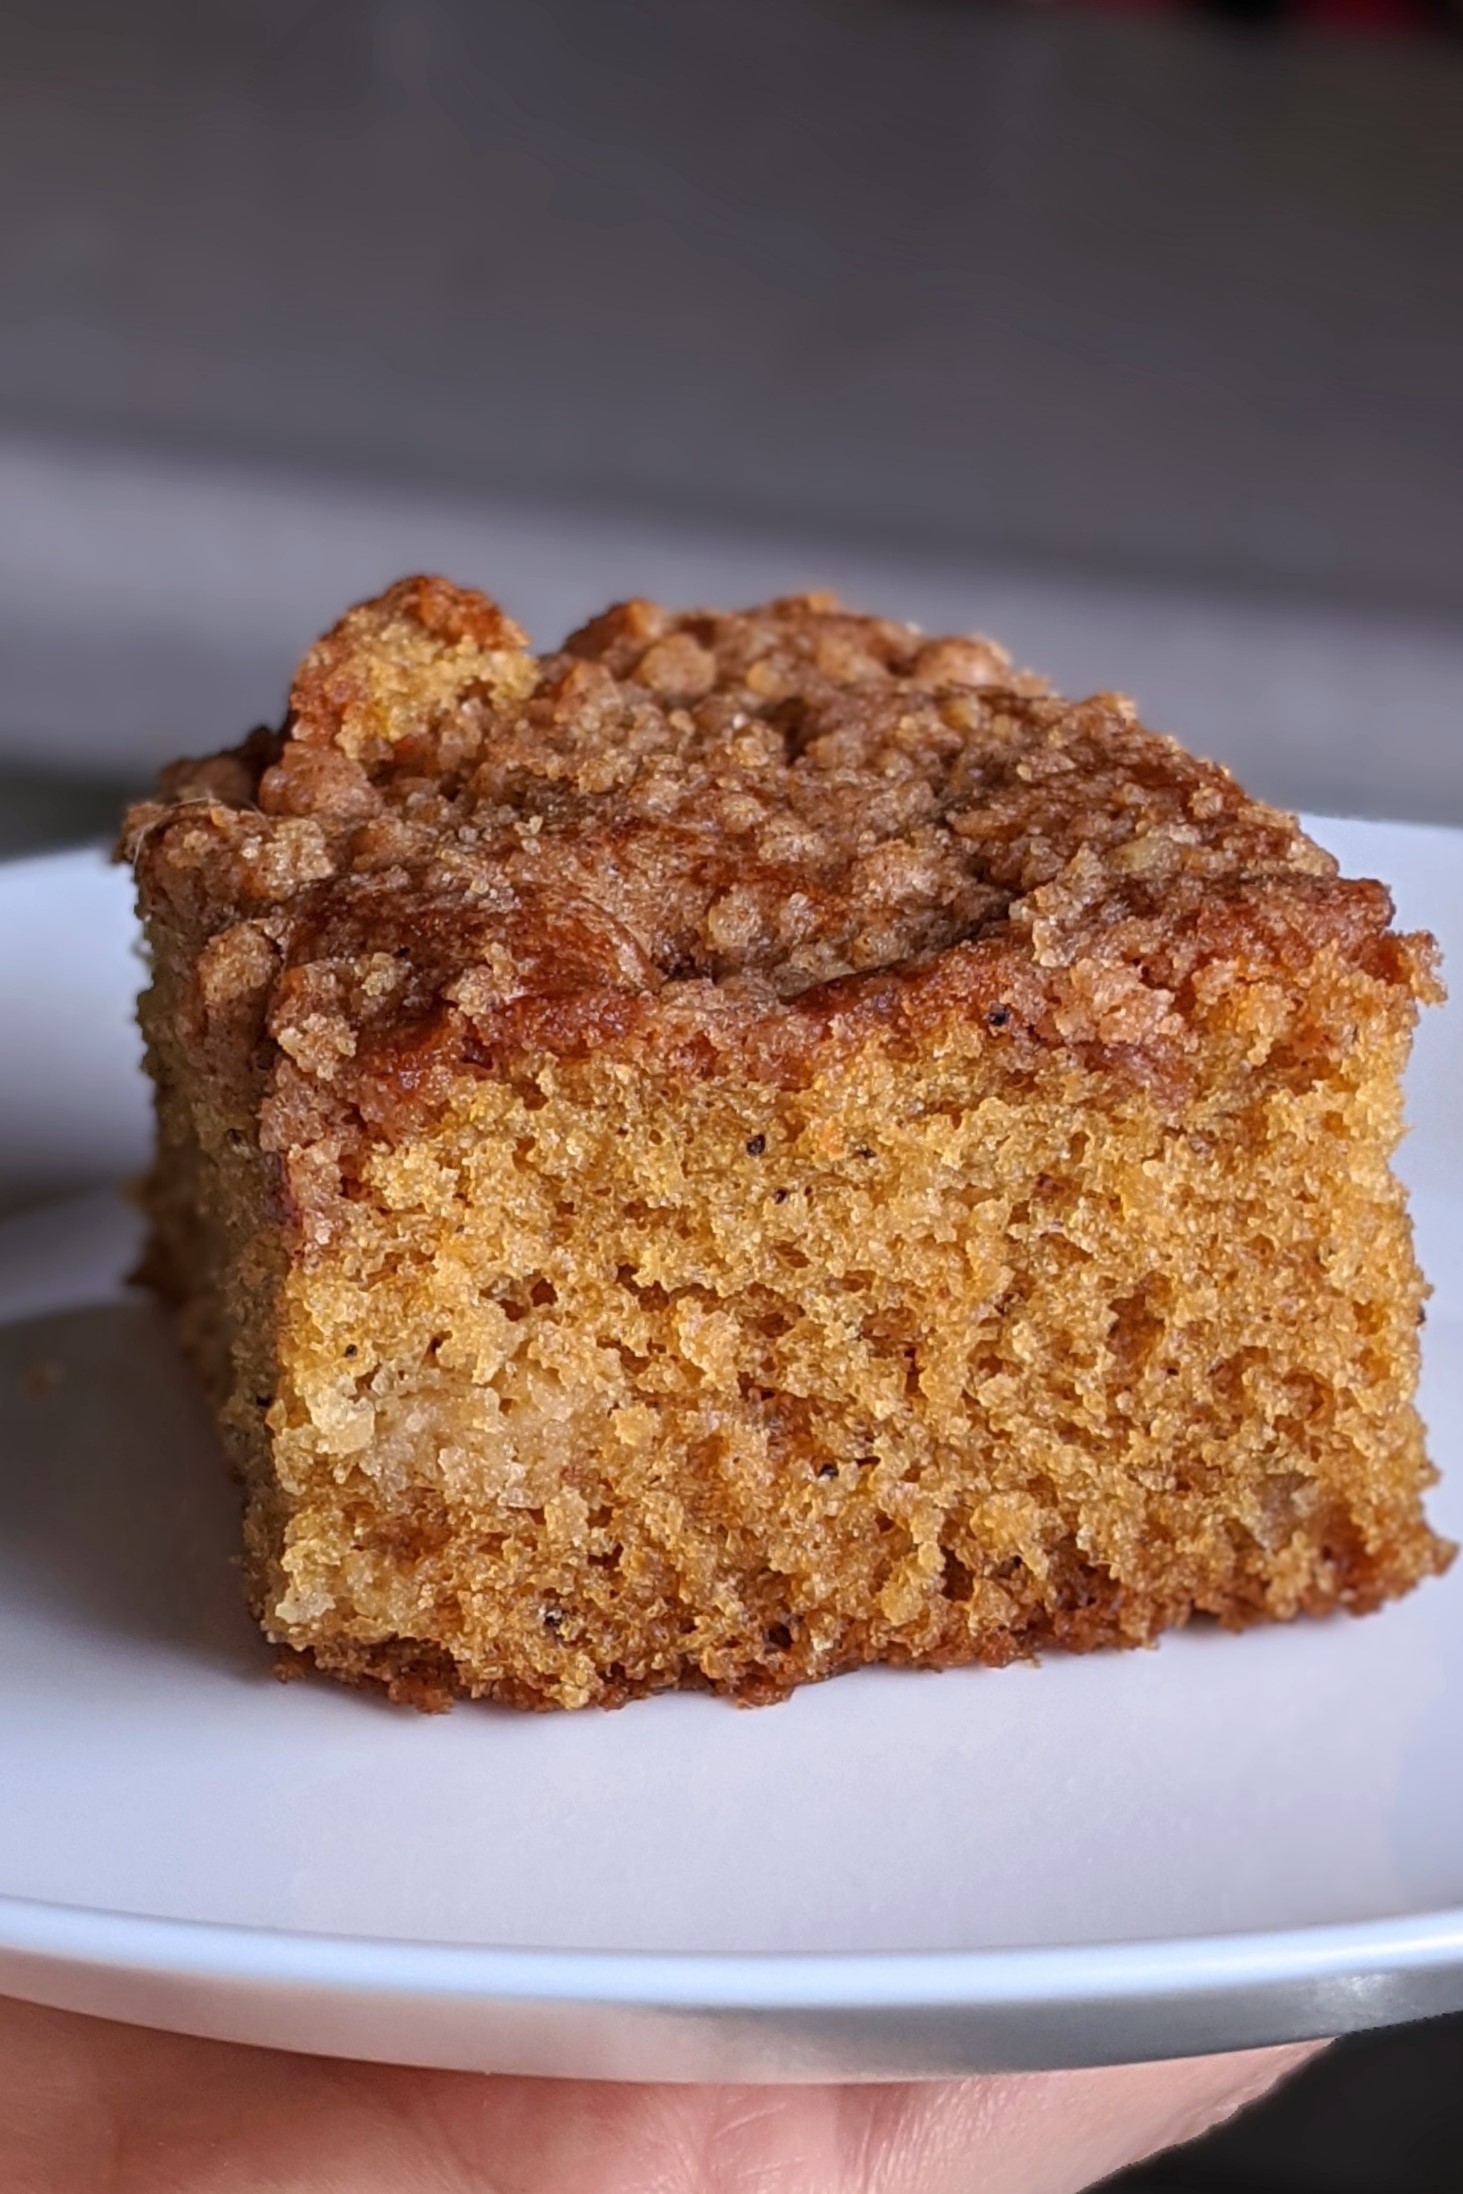
The best part of lunchtime for me was the coffee cake! It was a staple all throughout my childhood years — not just in high school. A big tall square slice of moist cake, heavy-hit with nutmeg and cinnamon. Sitting atop that beautiful thing was a sugary cinnamon-laced streusel topping. I remember it wasn’t served every day, either. So the days that they had it you had to try and get in the line as fast as you could so you could snag a piece. And when they were out, well it was just the worst day ever. Okay, maybe I’m being a bit over-dramatic, but I felt the pain.
An old friend
A friend of mine had posted that she was making the LAUSD Coffee Cake recipe, and I was like, “WHAT?! Where’d you get that?!”
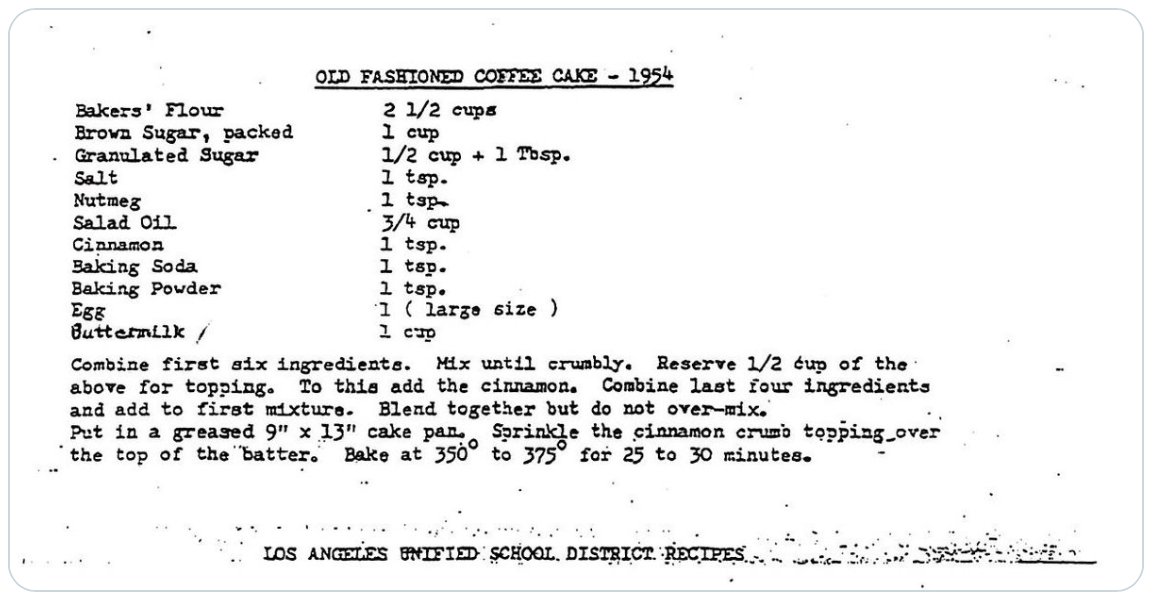
Apparently the school district decided to post the recipe for people to try out. Hello, old friend. The recipe dates back to 1954!
You mix up a few ingredients, then take out a specific amount, mix that up with some cinnamon to use as the topping, and then continue to mix the batter with the other portion. It totally works! It’s kind of a strange method of doing things in a recipe, but it was delicious! It was what I had always remembered coffee cake to be…I just wanted it to be a little more consistent, so being me I had to adapt it a little to suit my baking style. That meant going the metric route.
A few changes
My recipe here is a bit different from the original. We all have our own baking and cooking styles, and what I did works for me. You can use the original recipe, or go with mine (Either way they taste pretty much the exact same). Mine differs in that it uses weight measurements which will make it more consistent and able to be calculated up or down easily. I also changed the method of mixing the oil in at the beginning and instead you mix the dry ingredients, take a out a portion and then add the oil. To the topping portion you add melted butter. (because who doesn’t prefer butter?!)
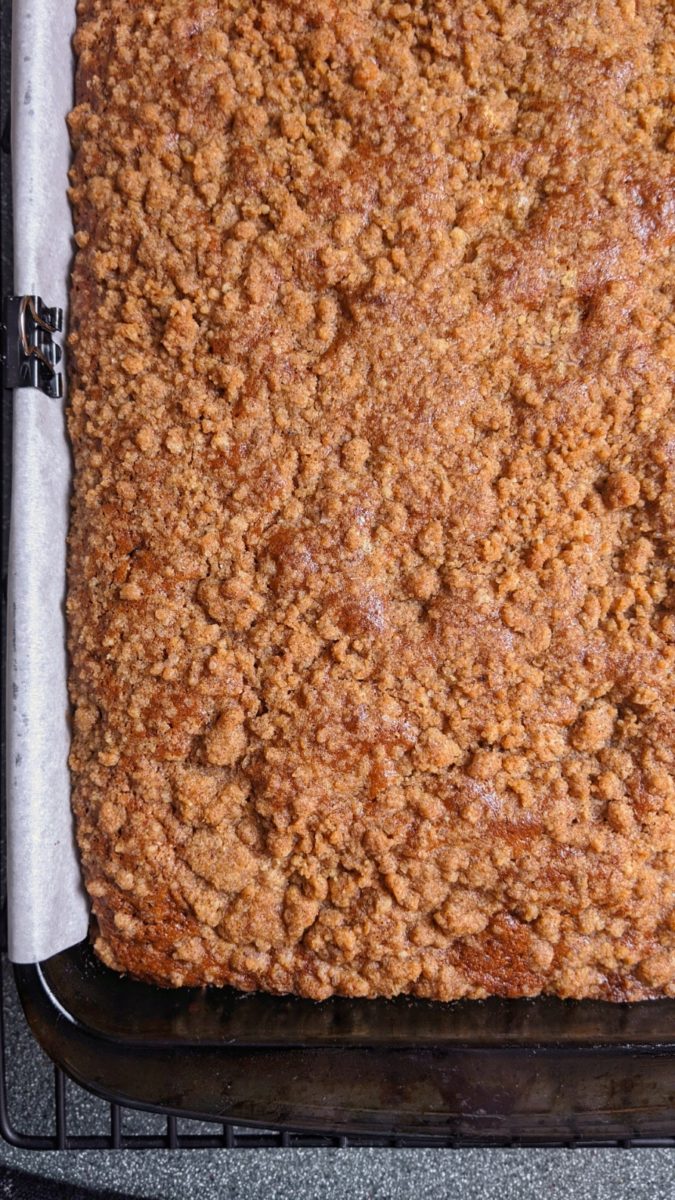
I did also find that the amount of batter didn’t seem like enough for the 9×13 pan which the original recipe called for. So instead I went with my 7×11 pan. If you use the 9×13 pan, baking times will vary. And if you’re using a glass pan, bake it at 325ºF for a little longer. If using a metal pan go with 350ºF.
If you try out my version please let me know how it turned out! I’d love to hear.
The BEST Coffee Cake
Ingredients
- *300 grams All Purpose Flour
- *185 grams brown sugar
- *85 grams white sugar
- *1 tsp. salt
- *1 tsp. nutmeg
- 1 tsp baking powder
- 1 tsp baking soda
- 1 tsp cinnamon
- 30 g (2Tbsp) butter, melted
- 1 large egg room temperature
- 115 g neutral oil
- 237 ml 1 c. buttermilk, room temperature
Instructions
- Preheat oven to 350ºF. Butter a 7×11 pan, or line with parchment paper.
- Whisk first 5 (*) ingredients until well combined.
- Remove 1/2 cup (85g) of dry mixture and place into separate smaller bowl. Whisk the baking powder and baking soda into the original bowl of dry mix and set aside.
- In the small bowl, add cinnamon and melted butter. Press with a fork and combine thoroughly until it forms crumbles. This will be the topping. Set aside.
- Whisk the egg, oil, and buttermilk together until well combined. Add this to the large bowl of dry mix. Stir to combine with a spatula or spoon until no dry ingredients remain. Don’t overmix.
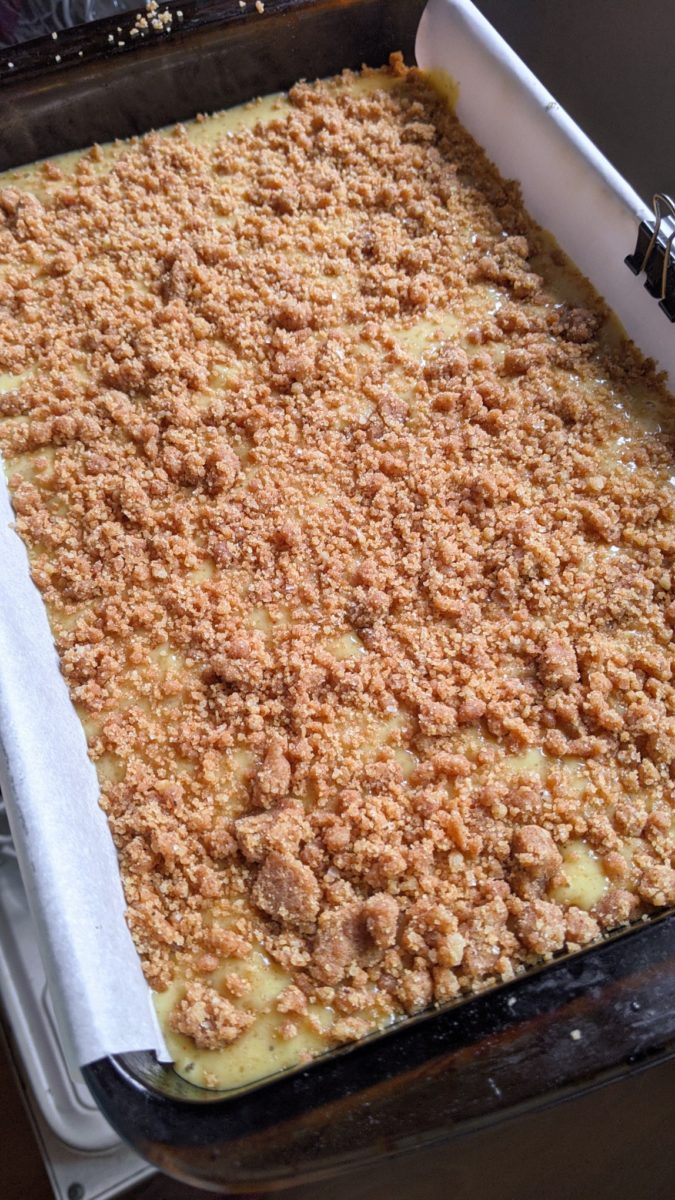
- Place batter into 7×11 pan. Sprinkle the streusel topping evenly over the coffee cake batter.
- Bake at 325ºF for a glass pan, for 25-30 minutes, or until a toothpick inserted in the center comes out c lean. If you’re crazy like me, stick a probe thermometer in the center and check that it’s between190-200ºF. Cool in the pan and serve.
Notes
- This will also work in a 9×9 or 8×8 square pan, or if you only have round pans you can use a 9″ or 10″ round cake pan. Just remember baking times for different pan sizes will be different, so keep an eye on it. The original recipe calls for a 9×13 pan. This size pan will work, but I found that a 7×11 pan makes a nice tall slice.
- If baking in a glass pan, reduce oven temperature to 325ºF. Baking time will be a little longer for glass than metal.
- If you don’t have buttermilk, you can substitute milk and vinegar. For the 1 cup of milk, add 1 Tbsp white vinegar. Stir and wait 5 minutes. Mixture may curdle, and that is totally fine.